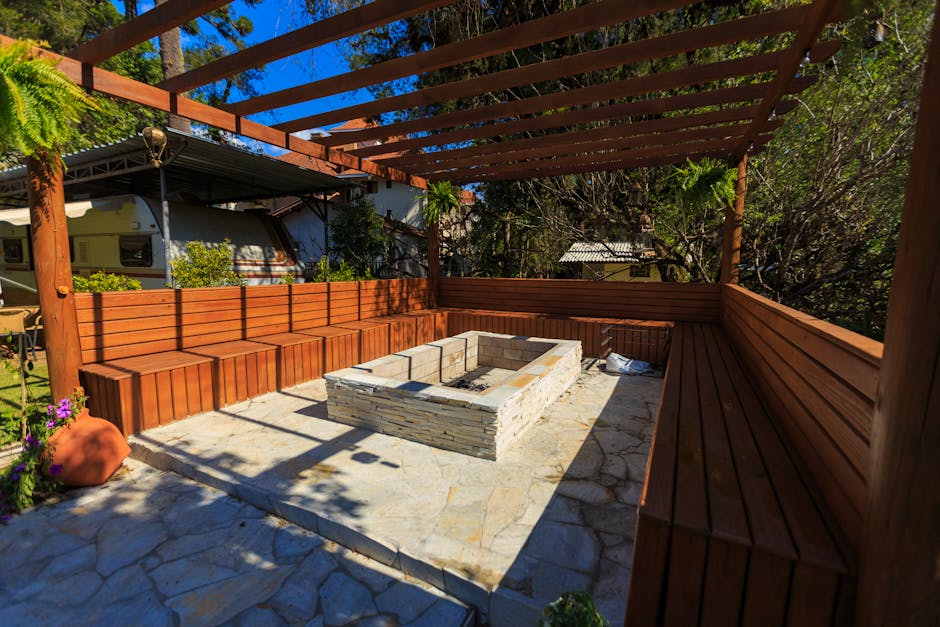
Right now in Riverside the days are cooling but the sun still sits high—if you wait until the first cold snap to start a backyard project, you’ll miss the best two-month window for outdoor work and may push your build into winter rains. Start this month and you avoid wet soil compaction problems and keep contractors from scheduling into next spring.
Quick seasonal checklist: what to do this fall
- Measure and map the space (DIY). Take a sketch of hard boundaries and measure lengths to the nearest foot; note door swings and a 6–8 foot clear area for furniture and circulation.
- Decide on footprint and slope (Pro if you need changes). Keep a 1/8 to 1/4-inch per foot slope away from the house for drainage; altering grade or adding retaining walls typically needs a pro and permits.
- Choose paver type and thickness (Pro consult recommended). For standard patio use pick 8–12 mm nominal thickness porcelain pavers over a 6–8 inch compacted aggregate base; 3–4 inch concrete pavers on a 6–8 inch base for heavier loads or driveable areas.
- Pick a pergola style and attachment method (Pro). Free‑standing pergolas often avoid house attachment issues; if you attach to the house confirm header/ledger details and flashing to prevent leaks.
- Plan utilities and lighting (Pro). Locate gas for a BBQ or fireplace and plan low-voltage runs for lighting; trenching and conduit generally work best before pavers are installed.
- Permits and HOA checks (Pro). Submit for building permits when posts bear load or when changes affect setback lines; factor 2–6 weeks for permit approval in Riverside depending on scope.
Design and layout: numbers you can use
Start with how you’ll use the area. A dining set needs a 10-by-12 foot cleared rectangle; a lounge area with a 6-foot sofa and two chairs needs roughly 12-by-10 feet. Leave 3 feet for circulation behind seating. In Riverside yards with compact clay soils, plan for a deeper base—6 to 8 inches of compacted crushed stone plus a 1-inch bedding sand is typical to prevent settlement over five to ten years.
Materials and details that matter
We prefer larger-format pavers (24-by-12 inches and up) for small yards because fewer joints mean less weed growth and a more expansive feel. Porcelain pavers resist fading in Inland Empire sun; concrete pavers are more economical but choose thicker units (3–4 inches) if you expect occasional vehicular loads. For pergolas, 4x4 posts are common but 6x6 pressure-treated or steel posts give longer-term stiffness and less deflection under rafters. Use stainless or hot-dipped galvanized fasteners near irrigation to avoid corrosion in alkaline soils.
Budget ranges and timeline
Typical national ranges for the projects homeowners ask for:
- Paver patio only: $10 to $35 per square foot, depending on paver material, edge restraints, and base depth.
- Pergola only: $3,000 to $12,000 for wood or aluminum, depending on size, roof option, and attachment method.
- Combined pavers and pergola: often $20 to $60 per square foot installed when you include lighting, gas lines, and built-in BBQ or fireplace.
Timeline: a straightforward paver patio is typically 3–7 days on site after excavation; adding a pergola adds 1–3 days for posts and framing, longer if a roof or electrical work is included. Permit turnaround in Riverside can add 2–6 weeks.
What to verify when hiring a contractor
Verify the contractor’s CSLB license number and insurance; ask for a written scope that lists base depth, paver brand and thickness, edge restraint type, and drainage slope. Expect a payment schedule tied to milestones rather than a single large upfront deposit. Ask for a permit plan or for the contractor to pull permits. Read our guidance on choosing contractors in this post: How to Choose a General Contractor Without Getting Burned.
Common warning signs and fixes
Red flags: very low bids, no written contract, or a contractor who says “permits aren’t necessary.” These often mean corners on base prep or attachment details. Fixable issues include insufficient base (add 2–4 inches of compacted aggregate) and poor edge restraints (install a concrete curb or steel edge). If you see a ledger attached directly to thin fascia without a header, stop and get a second opinion—those ledgers pull away over time unless reinforced.
Local considerations for Riverside homeowners
Riverside’s summer heat and winter rain cycles mean UV resistance and drainage are the two biggest long-term concerns. Specify UV-stable finishes for pergola paints or stains and plan for slope and drainage that sheds water away from the house foundation by at least 6 feet where possible. If you’re adding a detached living unit later, think about location now—pavers make a good hardscape approach for future ADUs. Learn more about ADU planning here: New ADU Construction in Riverside, CA.
Start with a small, high-use area. If you do nothing else, pick one 10-by-12-foot corner, measure and draw it, and confirm a 6–8 inch compacted base and a 1/8–1/4-inch per foot slope away from the house. That single decision saves hours of repair and rework later.